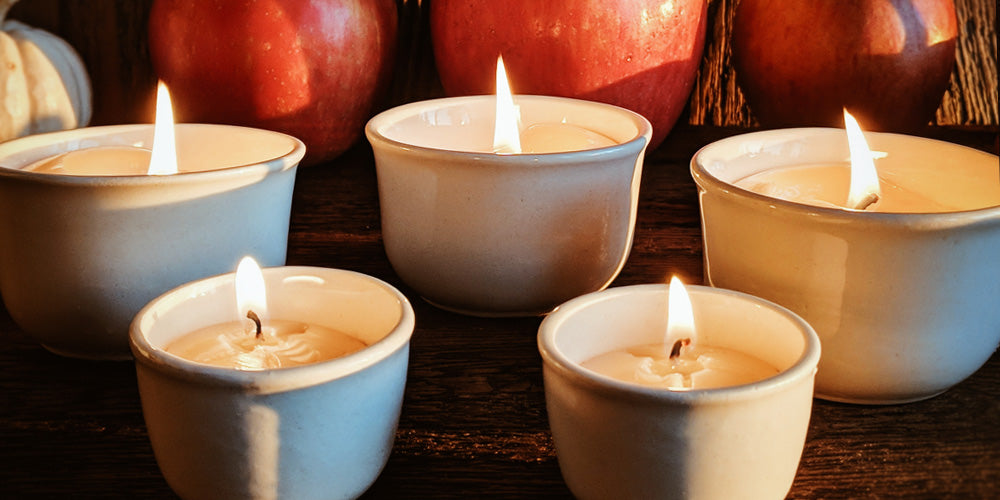
Have you ever burned a pillar or container candle with the hopes of enjoying it for many days, only to find that your beautiful pillar tunneled straight down? Not only did you not get your money's worth, your candle wasn't able to give you that beautiful warm glow you were anticipating when you purchased it. There's generally two reasons why candles burn straight down the center (known as tunneling) and you can prevent one of them from happening. 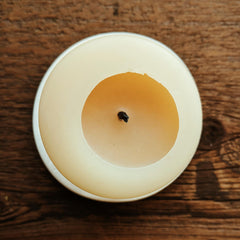 One reason a candle may tunnel down the center is if the candle was not made properly. Anyone can make a candle that will burn, but it takes experience, education and a lot of testing to make a candle that will burn correctly. If the candle-maker used the wrong wick to make the candle, that candle will never burn properly. Hopefully, you purchase your candles from trusted candle studios so you will not have to worry about buying a candle with the wrong wick.
So what can you do to make sure your beautiful candle burns beautifully?
Here's a big candle secret that every candle lover should know!
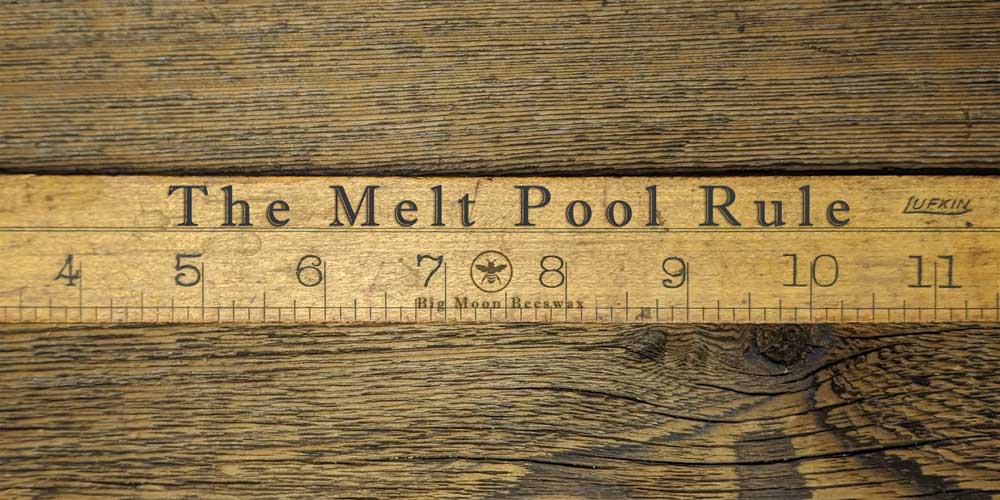
According to the National Candle Association: The most common reason a candle will tunnel down the middle and leave a lot of wax behind is that the candle was not burned for the appropriate amount of time for that candle. Here at Big Moon Beeswax Studios we coined this term, "The Melt Pool Rule."
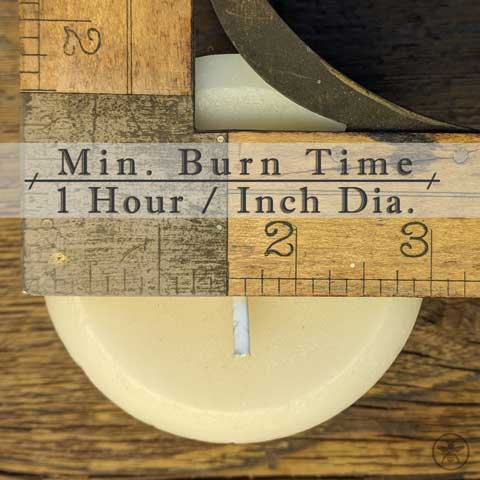
- For every inch of diameter of a pillar, you need to burn the candle for one hour to ensure that the liquid wax (melt pool) extends out towards the edge of the candle (leaving a thin wall of wax around the edge).
- Example: a 3" wide pillar will need to be burned for a minimum of 3 hours each time you light the candle. A 2" wide pillar needs to be burned for a minimum of 2 hours each time you light the candle. If you purchased a 6-inch diameter pillar, be prepared to settle in for a long minimum burn time of 6 hours each time you light the candle.
* Note, this rule applies to each wick when there are multiple wicks in the candle. If there are multiple wicks in your candle, you would measure from the wick, to the closest outer edge of the candle.
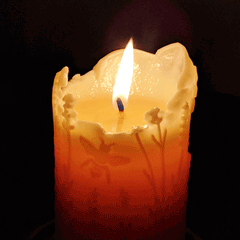
- It is very important that the first time you burn a pillar candle that you let it burn long enough so that the melt pool extends close to the edge of the candle before extinguishing it. The first burn is the most important as it lays the foundation for future melt pools each time you light the candle. Some candle-makers like to call this a "memory ring" because candle wax has a "memory" and will always burn to the same spot each time.
- You can burn your pillar longer than the minimum burn time as long as you keep a watchful eye on the flame to make sure it remains steady. You will know when the wick needs trimming when the flame gets taller, pointy and starts moving back and forth. Since candles use different types of waxes, always let the flame tell you when it needs trimming because the time will vary. When the flame gets tall and unsteady, extinguish the candle, trim the wick back to approximately 1/4" and re-light the candle.
- When burning a container candle for day-long burns, keep an eye out for the melt pool to make sure the melted wax does not get too deep. A pillar can be burned for a long time as long as the sides of the pillar remains intact. For extended burn times, you may want to extinguish the candle, allow it to cool until it firms up again and then light it again.
The Melt Pool Rule generally applies to the following types of candles:
The following type of candle does not require the Melt Pool Rule:
- Tapers (can be lit for minutes or hours and burn beautifully each time you light it)
Special Burn Requirements for the following types of candles:
- Votives: should be burned in a snug-fitting votive holder and lit long enough for the wax to create a melt pool across the entire top of the votive holder. If the votive is extinguished before the melt pool reaches the entire edge of the votive holder, it will tunnel.
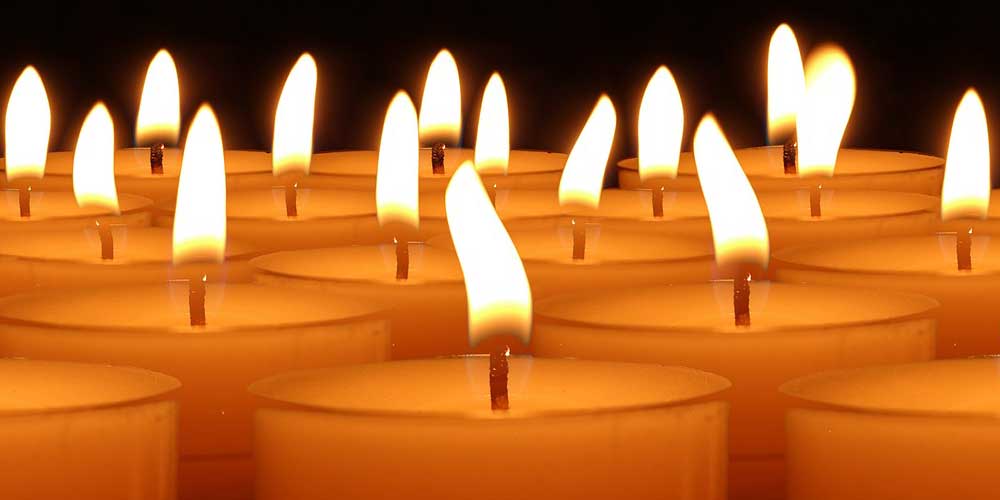
- Tealights: since tealights are shallow, the optimal way to burn them is to allow them to burn completely in one burn session. You may be able to burn a tealight in two sessions but the second session may not give you the best burn quality due to the wick being so short and not enough time for the wax to melt completely.
Knowing "the melt pool rule" will save you money, wax, and frustration. Plus, knowing how long a candle needs to burn so it won't get ruined, will allow you to choose a different kind of candle that requires less burn time.
 Thanks for stopping by and reading this post! Hope you have lots of great hours of candle enjoyment :)
Bee Cozy!